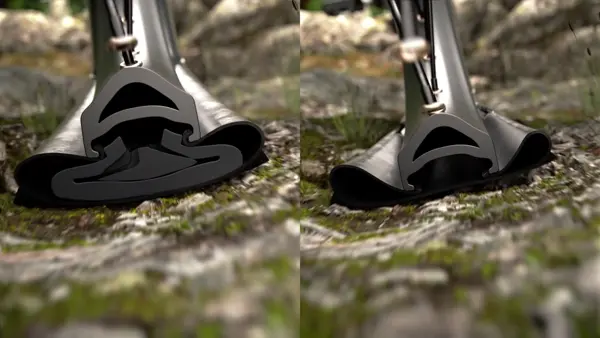
Tannus tubeless
World's first modular tubeless insert.
THE LIGHTEST INSERT

Tannus Tubeless will not sacrifice performance for your protection. It does not absorb sealant, maintaining lightness and maximizing the effectiveness of the liquid in case of puncture.
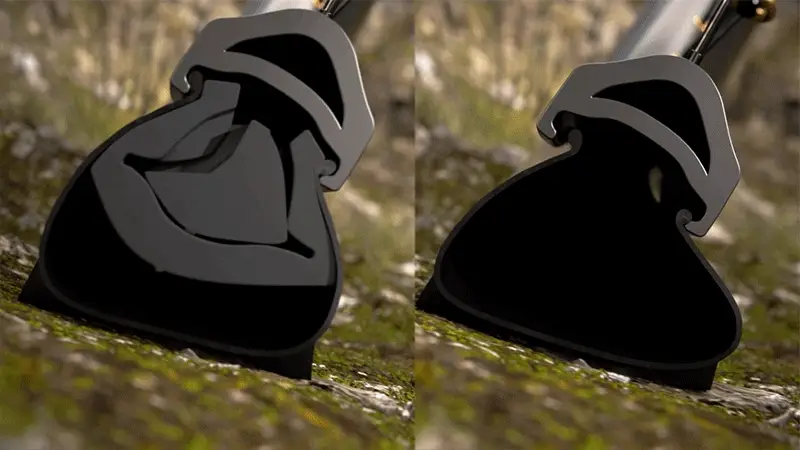
RIM PROTECTION

Tannus protects your rims and absorbs vibrations. Choose your level of protection: FUSION (30mm), PRO (20mm), or LITE (10mm) according to your needs.
IMPROVED TRACTION
Tannus Tubeless offers lateral support and improved maneuverability. It prevents the "burping" effect, especially in extreme curves.
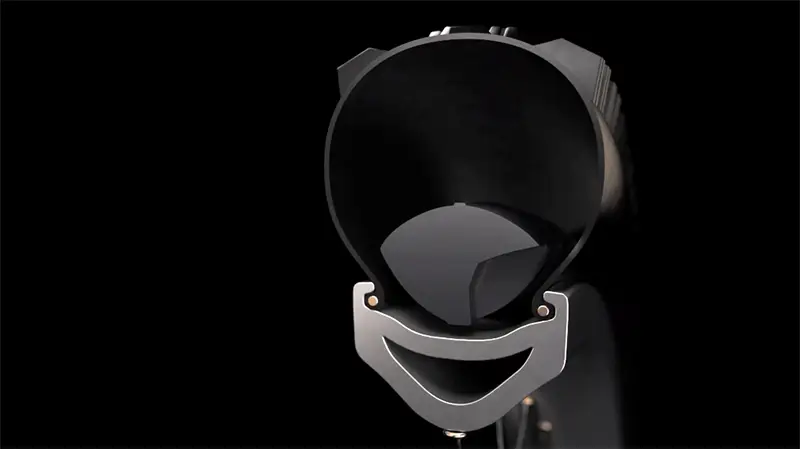
RUN-FLAT TECHNOLOGY
Our technology allows you to keep rolling, even after a puncture, without damaging the rim.
CUSTOMIZED TUBELESS
| Tire Size / Fusion | Inner tube width (mm) | WEIGHT(Gr) |
|---|---|---|
| 27.5 "x(2.1" - 2.6")(FUSION) | 23-35 | 190 |
| 29 "x(2.1"- 2.6")(FUSION) | 23-35 | 205 |
| Tire Size / Pro | Inner tube width (mm) | WEIGHT(Gr) |
|---|---|---|
| 27.5 "x(2.1"- 2.6")(PRO) | 23-35 | 140 |
| 29 "x(2.1"- 2.6")(PRO) | 23-35 | 155 |
| 700x(33-47)(CLASSIC) | 23-35 | 70 |
| Tire Size / Lite | Inner tube width (mm) | WEIGHT(Gr) |
|---|---|---|
| 27.5"x(1.95-2.10)(LITE) | 19-25 | 50 |
| 700x(33-45) / 29 "x(1.95-2.10)(LITE) | 19-25 | 50 |
| 700x(28-32)(LITE) | 19-23 | 40 |
ADDITIONAL INFORMATION
On the FUSION. This extra protection to the rim is key for the strong impacts in my jumps.

On the PRO. Lightweight but resistant, perfect for urban descents and demanding races.

On the LITE. Ideal for the technical races, ultra-light weight, natural ride feel. Perfect to set the fastest time.
THE INSERT CHOICE OF PRO TEAMS